
Caricamento carrello…
 Loading...
Loading...
Loading...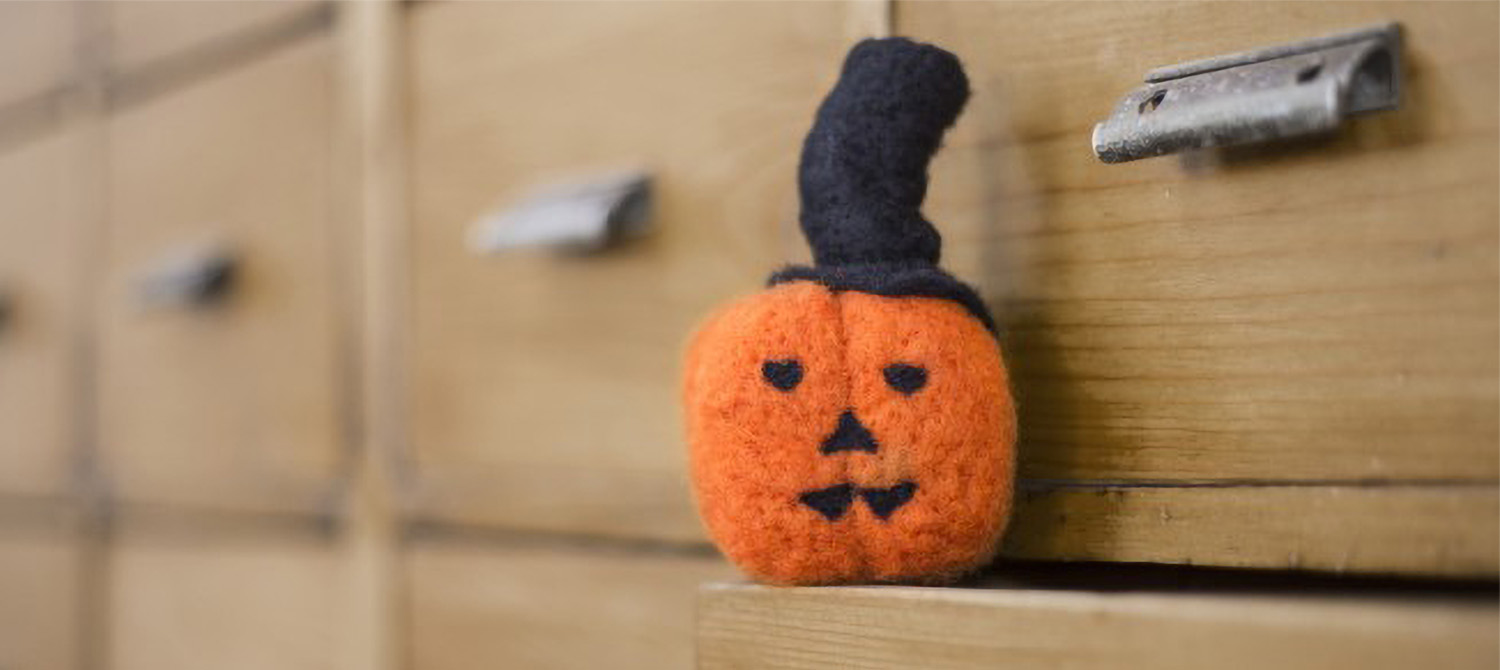
Well, I have to admit that despite my much lauded experience in the textile industry, I had a completely distorted idea of felt. Therefore, entering the DHG family has opened a new world to me, not only on a human level, but also an artistic, technical and special level!
I’ve always loved devoting myself to small craft projects: cutting, sewing, patchwork. However my true passion has always been paper and its malleability. Becoming a part of DHG, I couldn’t help but be struck by the infinite possibilities of things to make with our products. However, I was struck most of all by the techniques used, which I had heard about many times, and some I had seen used many times but which I had NEVER experimented. So, why not try?
So that is how, kind of as a game, kind of as a joke, our pumpkin took shape. I call it “ours” not only because it is made with DHG materials, but also because I had help in making it by my children, Tommaso and Martina. And here is the survival. Usually, Sunday afternoons at my house (as I believe like those in most houses) are complete mayhem: there’s someone who is watching televison, someone on the computer, someone who wants to watch the game, someone who wants to simply relax, all accompanied by dances, song, screams and chaos. On the other hand, strangely enough, this Sunday was an usual and quiet afternoon, so much so that my husband thought that the children were out of the house! So where were they? They were simply sitting on the couch next to their mother, needle felting their pumpkins.
What do you think, is that survival or what? And most of all, what do you think of the results?
MATERIALS
Maori Carded Wool, in colors Pumpkin and Dark
Medium and Fine Needles
Needle Felting Mat
Styrofoam egg or ball
METHOD
Begin to cover the egg with small pieces of wool in the Pumpkin color, punching the wool with the medium-sized needle. Continue layering the wool until you reach your desired shape and size.
Use the needle to “draw” the slices that you will guide you in creating the pumpkin. Following your outlined shapes, begin to add more layers, one slice at a time, to create a classic pumpkin shape. Remember to needle felt the bottom and top of the pumpkin as well to make sure that it won’t fall over. Add lots of layers until you create the desired effect. Set aside.
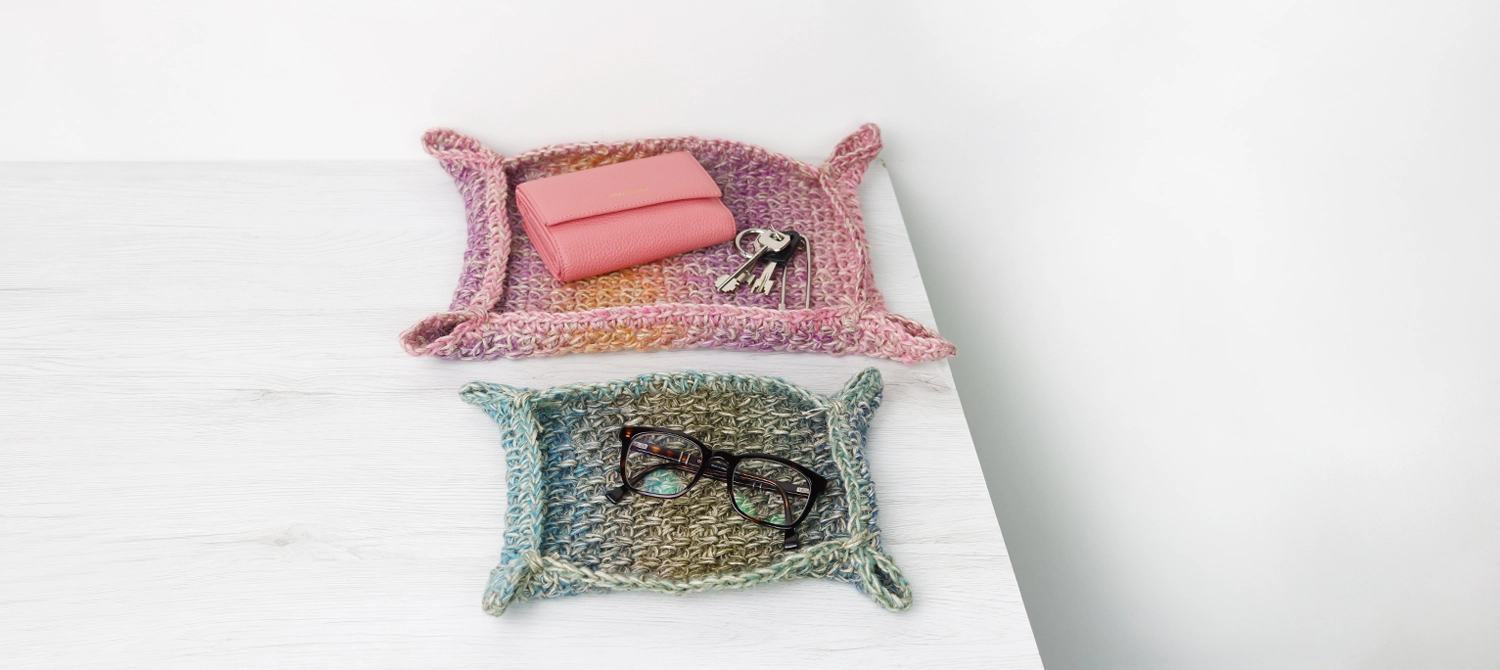
Today we are sharing a project that everyone can make. Even a beginner will manage [...]
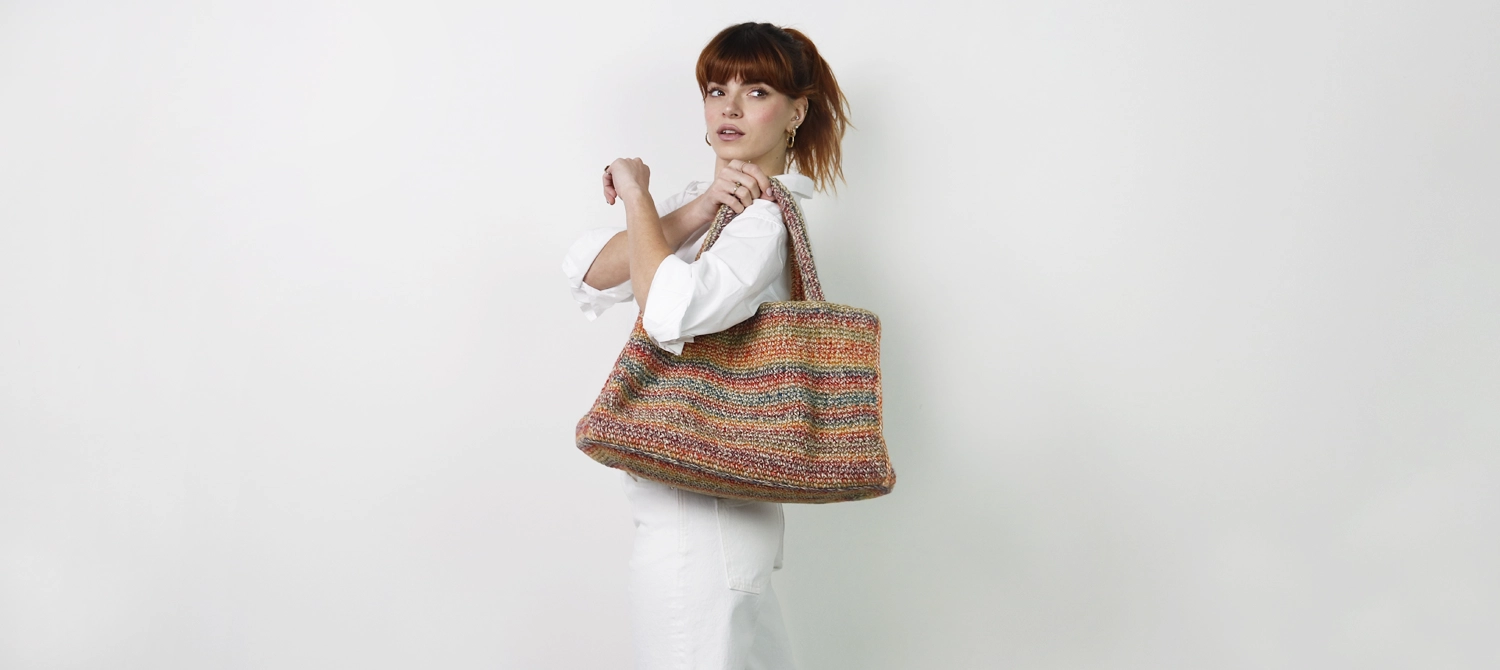
Who could resist a maxi bag made with a strong, multicolored jute yarn. It is [...]
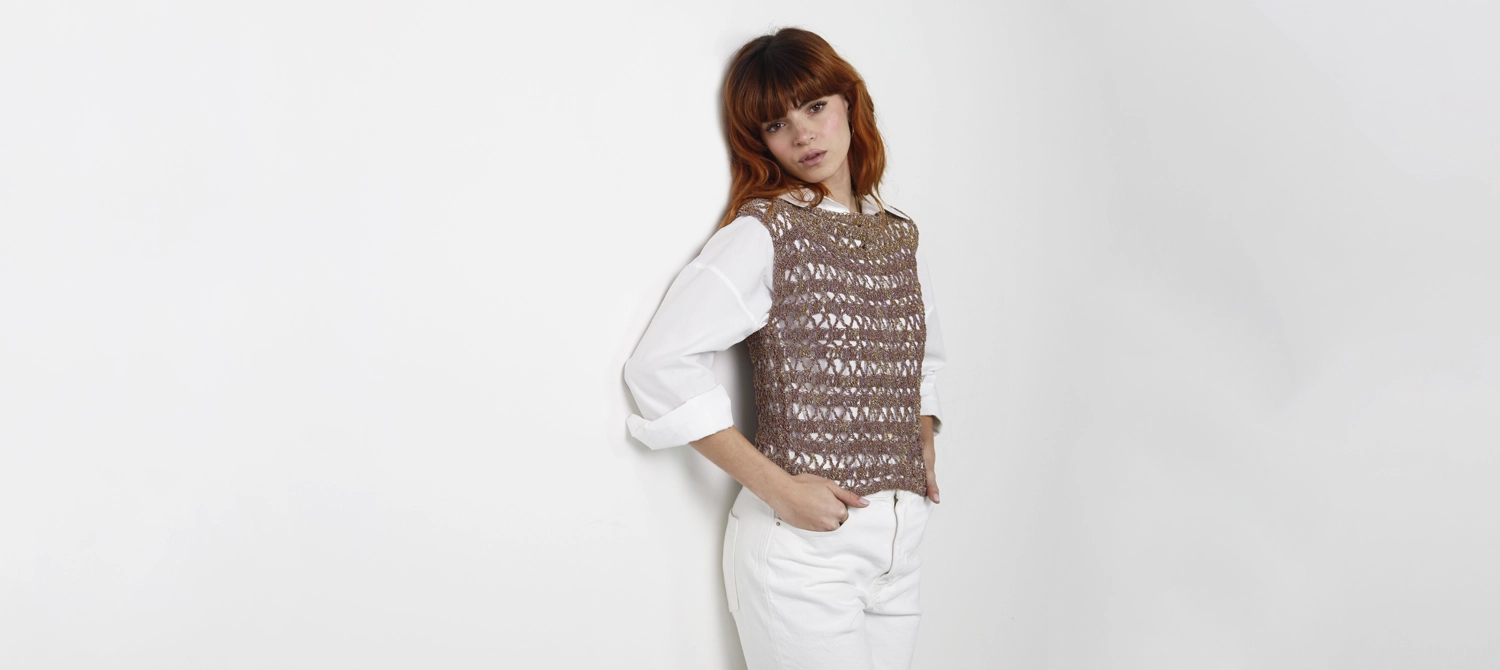
Even those who do not like layering or wearing sparkly garments will change their mind [...]