
Caricamento carrello…
 Loading...
Loading...
Loading...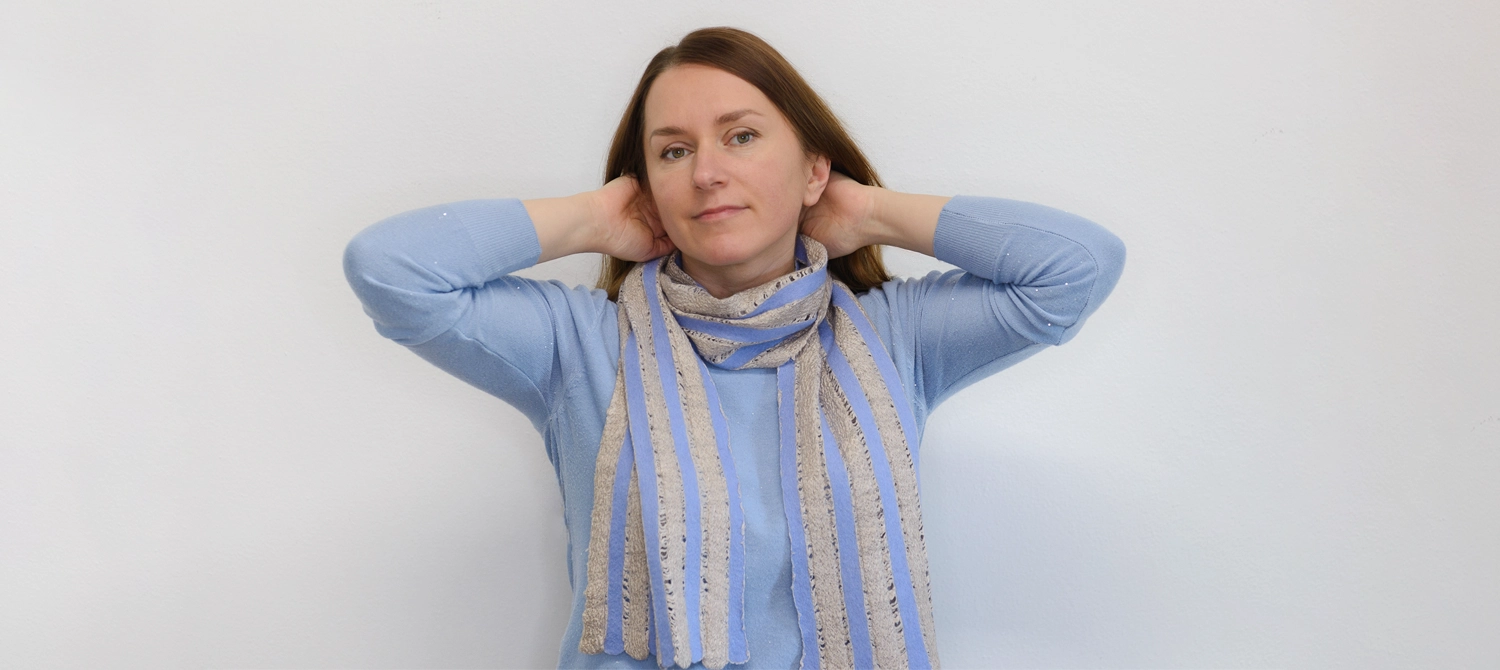
Today we’re going to learn how to make a striped scarf using the wet felting technique, combining a fibre such as viscose with prefelt.
Joining us for this beautiful tutorial is Katerina Korshun, who grew up in Kazakhstan in an artist family and, having been creative since childhood, later chose fibre art as her means of expression. She now lives and works in Italy and continues her magical journey through fibres and their countless expressive possibilities.
So let’s dive into this tutorial together.
MATERIALS
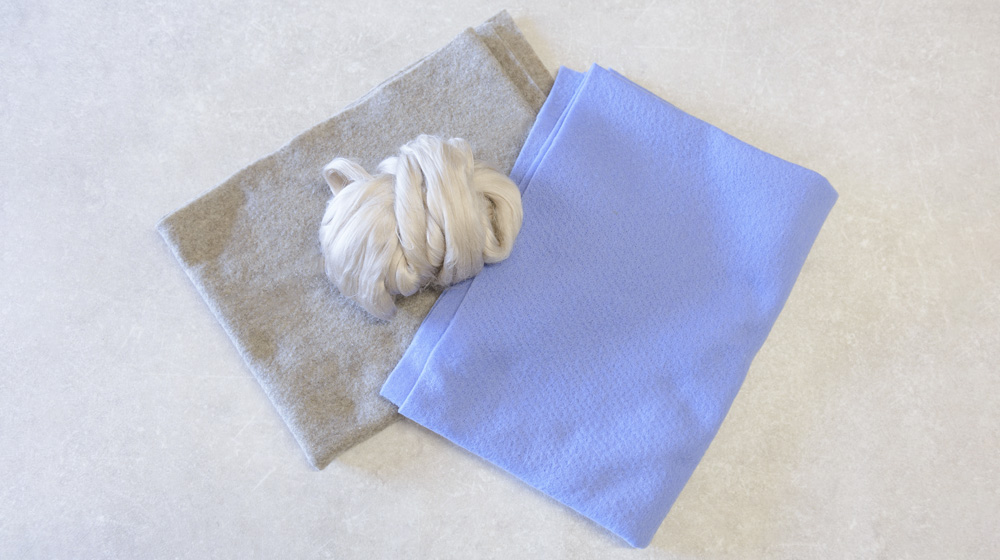
Prefelt 170 g/m in two colours: Hydrangea and Natural brown melange
Viscose tops colour Sand, 30 g / 1 oz
Bubble wrap 50 × 170 cm
Dishwashing liquid
Synthetic net (a pressing cloth or a piece of tulle will work fine)
Plastic bottle with holes in the cap (or a felting bulb sprayer
Stick at least 50 cm long
FINISHED SIZE
Width 22 cm, length 165 cm
INSTRUCTIONS
Fold the prefelt in half and use tailor’s chalk to mark 2.5 cm‑wide strips. Then cut the prefelt into strips along the lines.
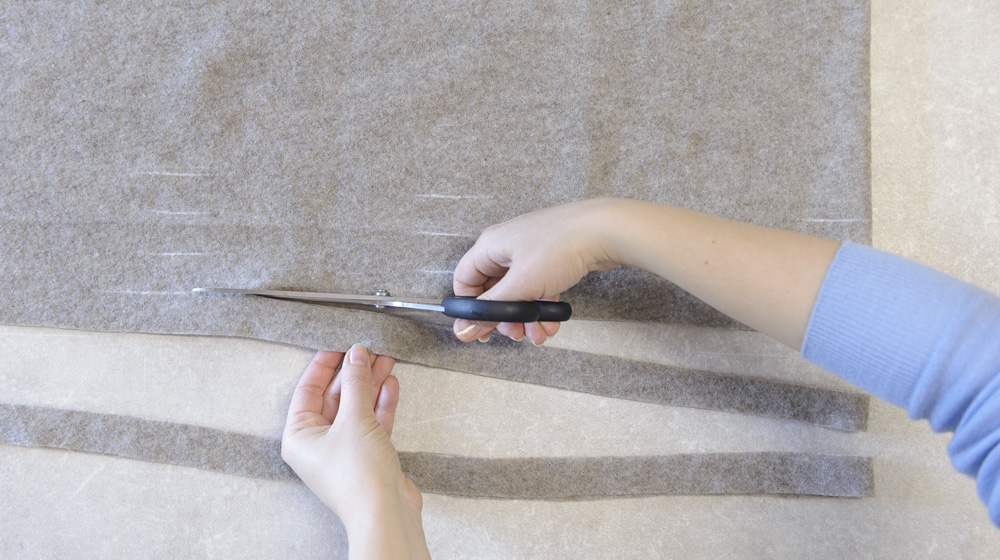
Prepare 5 strips in each colour. If you want to make a wider scarf, you can prepare more strips.
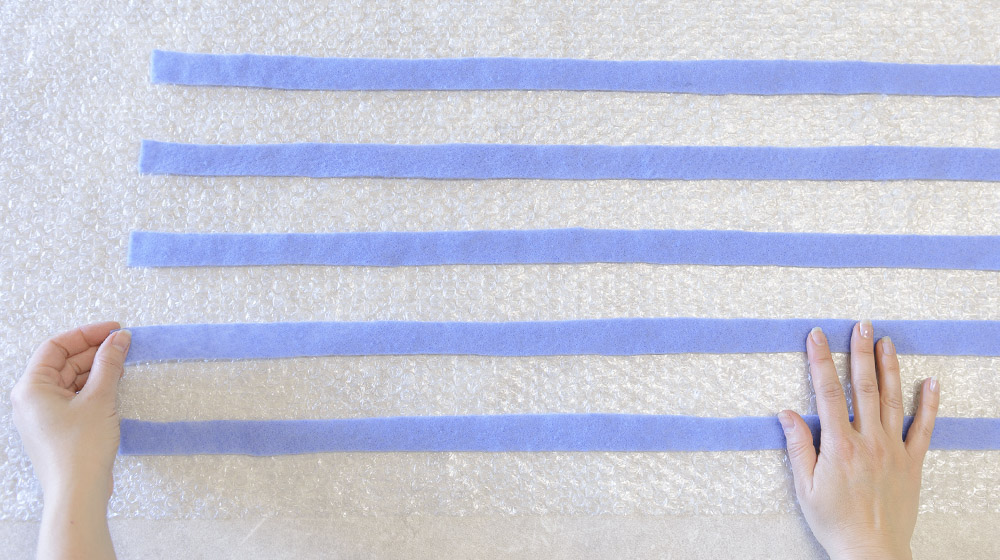
Lay the bubble wrap on the table along its full length. Arrange the strips of prefelt in the first colour parallel to each other, leaving about 3.5 cm between one strip and the next.
Tear off a length of viscose tops of about 1 metre. Gently pull out the viscose fibres from one end of the tops and lay them perpendicular to the prefelt strips, starting about 5 cm above the first strip. If the fibres stick to your hands, you can use thin nitrile gloves.
Then, working from top to bottom, lay down row after row of viscose fibres, making sure that the fibre ends rest on the prefelt strips.
Continue in this way down to the last strip; the ends of the last row of viscose should extend just beyond it.
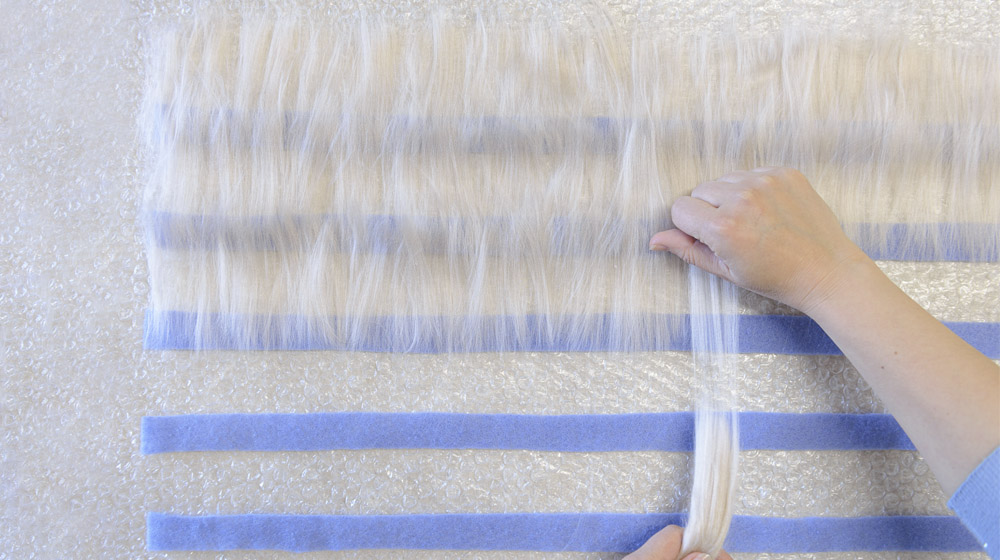
Pour some warm water into the bottle and add dishwashing liquid (1 teaspoon per 1 litre of water). Wet the fibres.
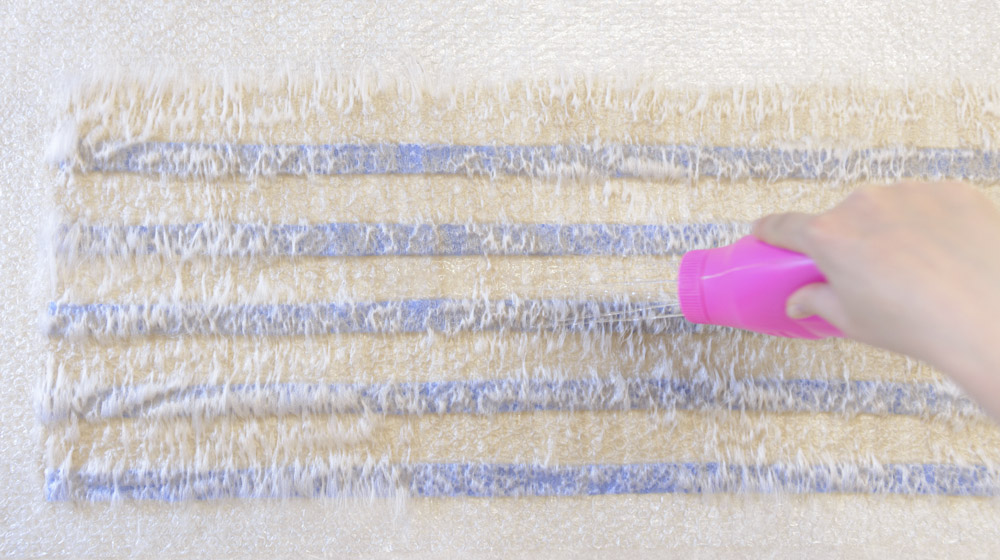
Lay the prefelt strips in the second colour: one strip on top and the others in the gaps between the strips of the first colour.
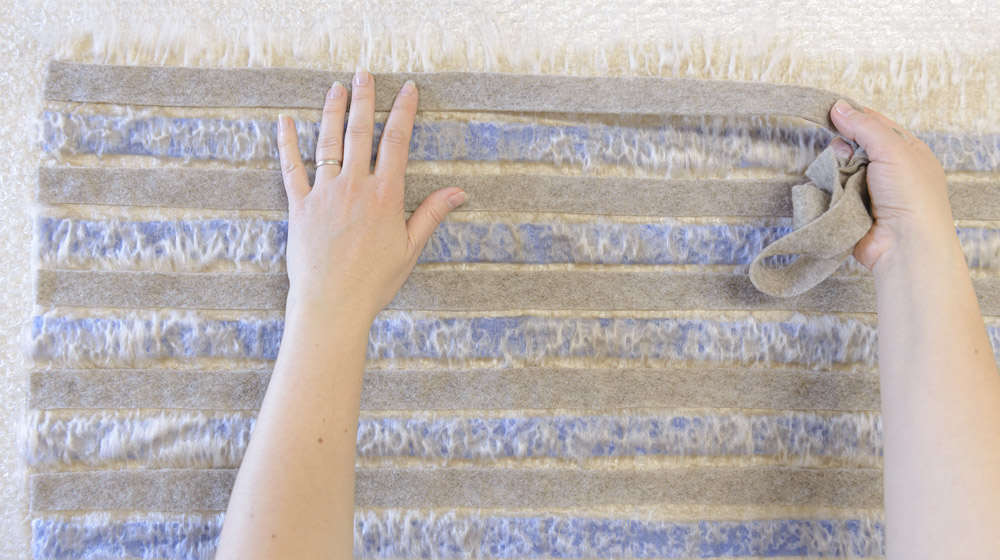
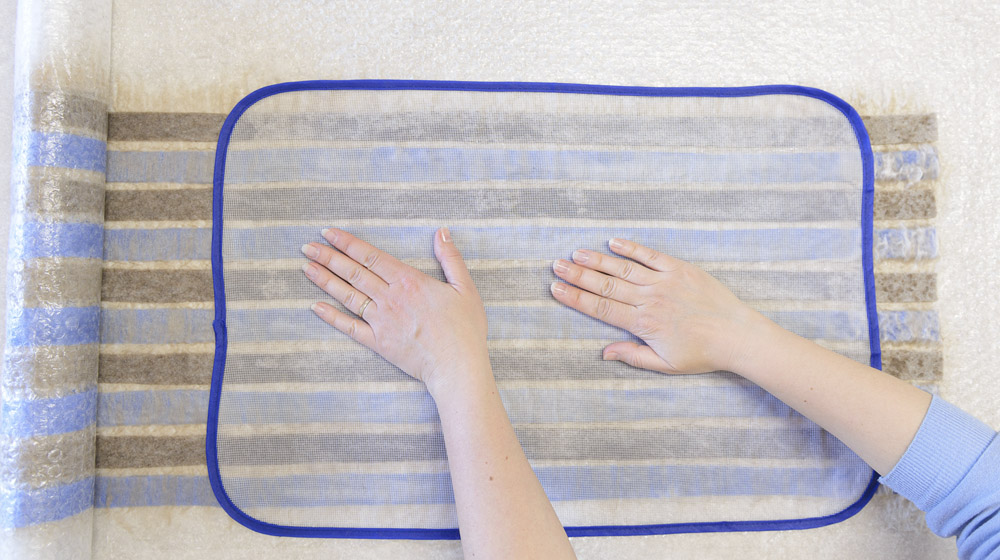
Cover everything with the net and wet the layout, pressing with your hands so that all the materials absorb the water thoroughly.
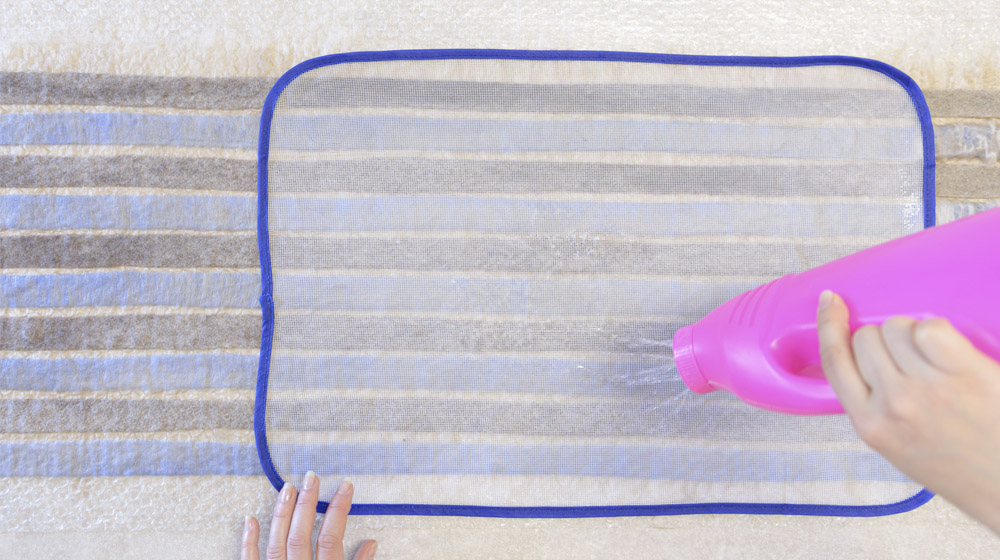
Rub the scarf with your hands through the net; you should see some foam forming under your palms. You can also soap the scarf with a bar of Marseille soap.
Continue rubbing the scarf with the flats of your palms through the net, in different directions and with firm pressure, so that the fibres start to bind together. Gently lift the net and move it along, working one section at a time.
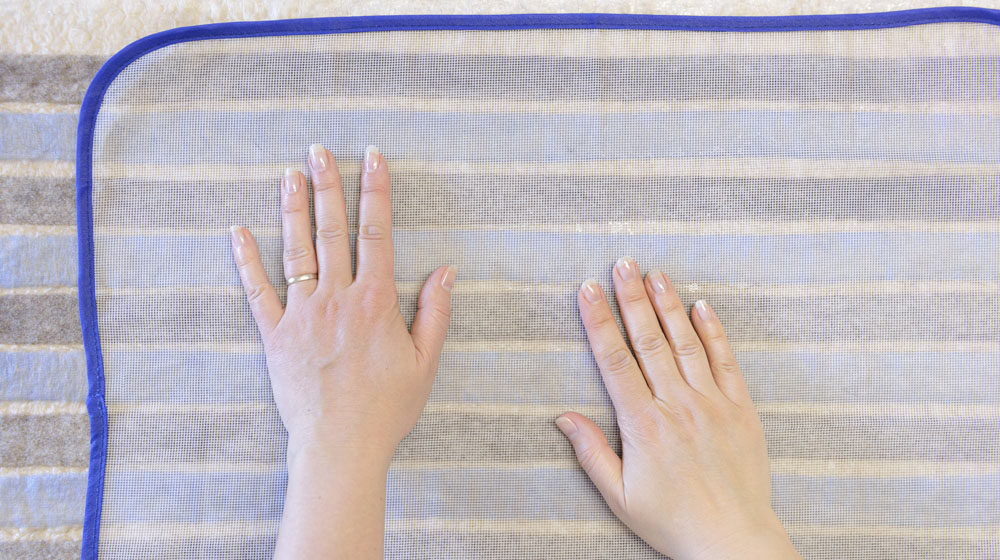
Roll up the felted section of the scarf, inserting a stick or a cardboard tube inside.
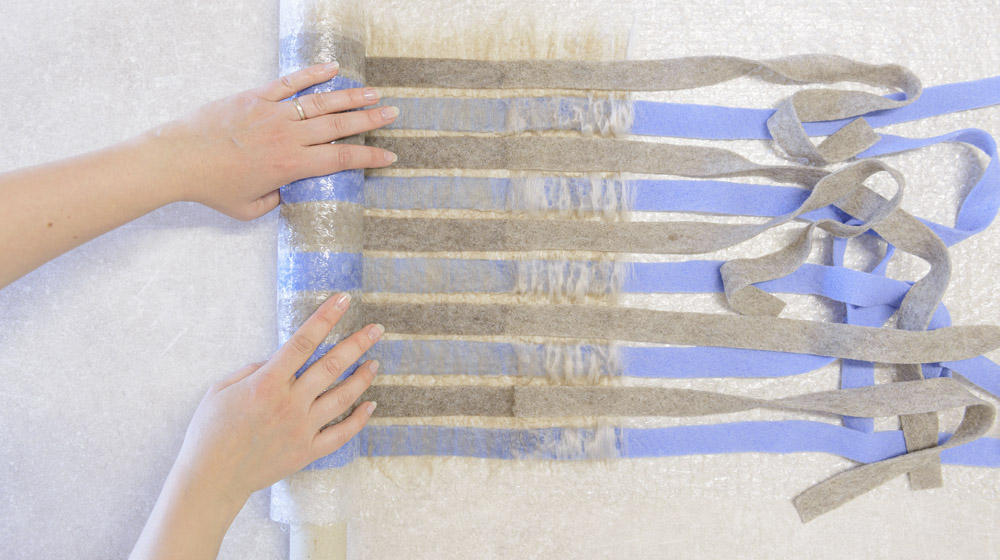
Move the remaining length of bubble wrap into place on the table and lay out the continuation of the prefelt strips in the first colour. Keep the strips in the second colour aside for the moment.
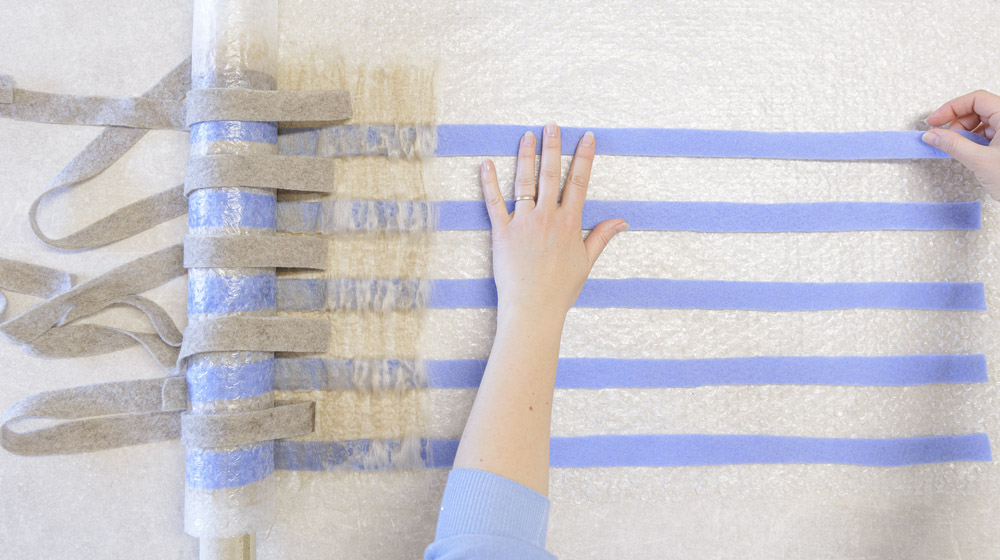
Lay the viscose fibres perpendicular to the prefelt strips all the way to the end, as you did before.
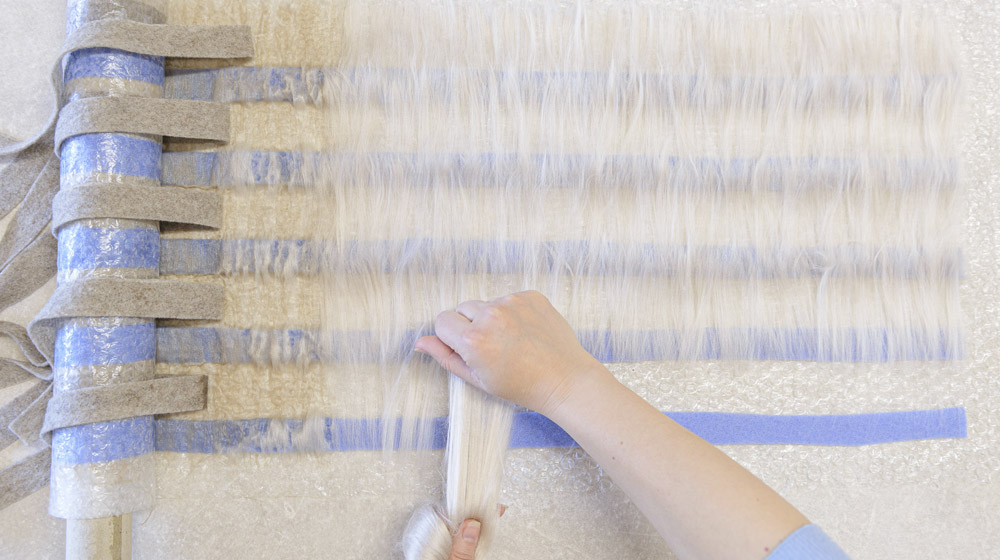
Spray the viscose with soapy water and lay the prefelt strips in the second colour.
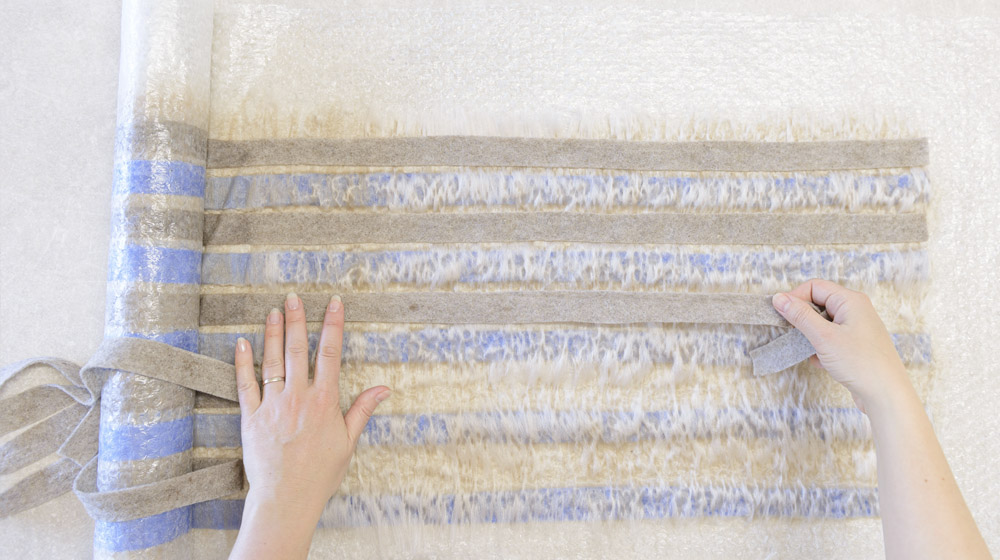
Cover with the net, wet with water and soap, and rub thoroughly with your palms so that the fibres bond well.
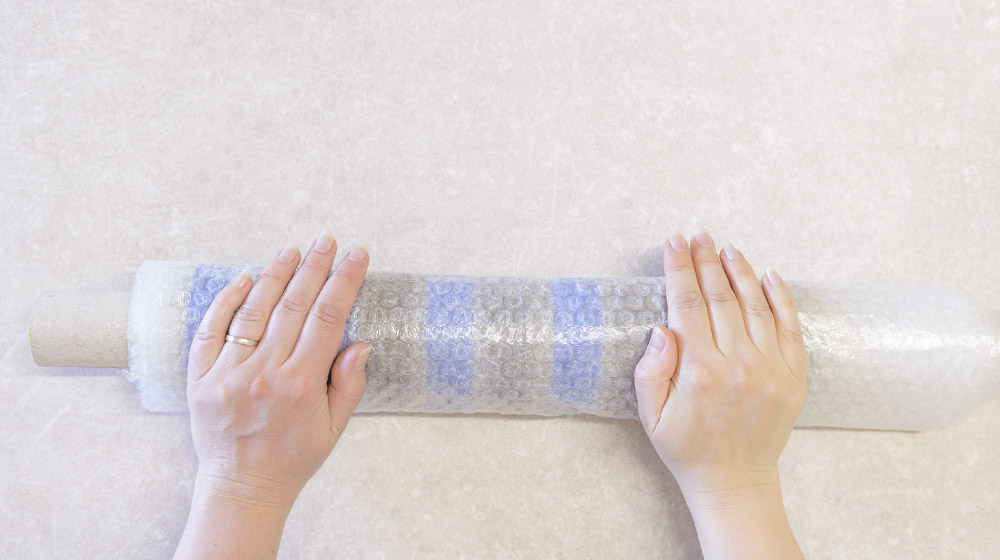
Roll the entire piece up. Now roll the bundle back and forth with pressure for 100 passes, moving your hands from the ends towards the centre and back again.
Then unroll the bundle and reroll it starting from the opposite end. Work another 100 passes. Repeat the process of unrolling and rerolling two more times. In total you should work about 400 passes.
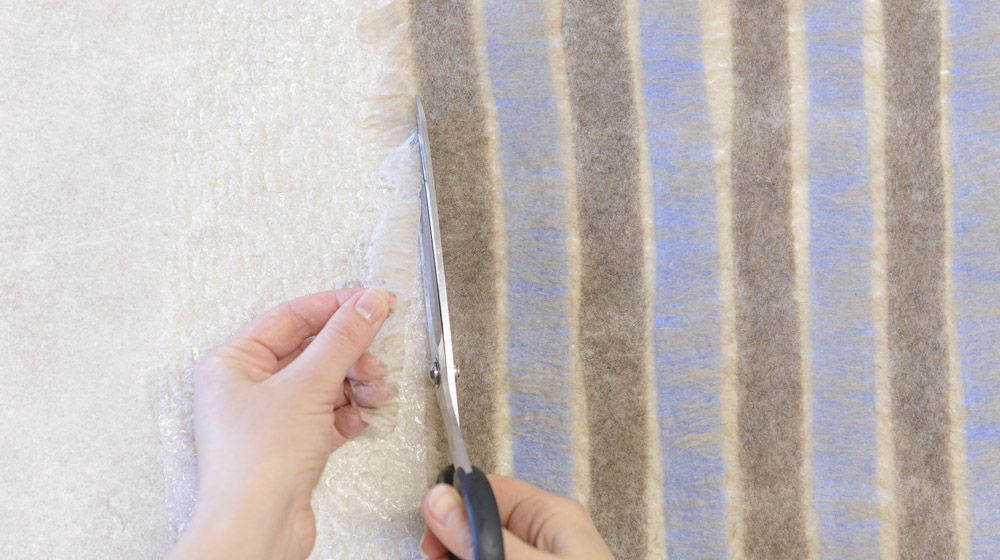
Open out the scarf and trim any viscose fibres that are sticking out along the edges.
Crumple the scarf into a ball and knead it from different sides (like kneading bread dough) for about 10 minutes.
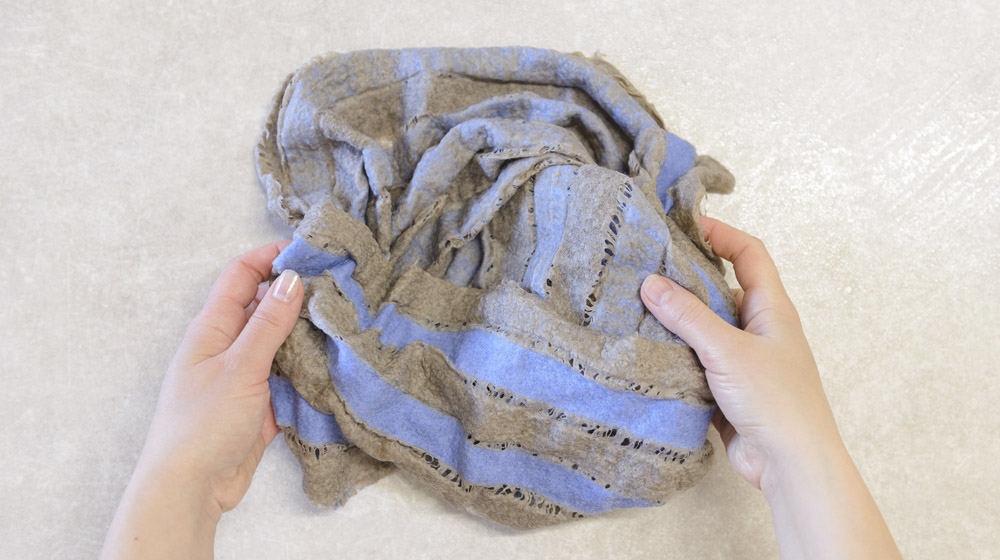
During the felting process, stretch the scarf several times along its length. This is important to prevent the scarf from ending up too short.
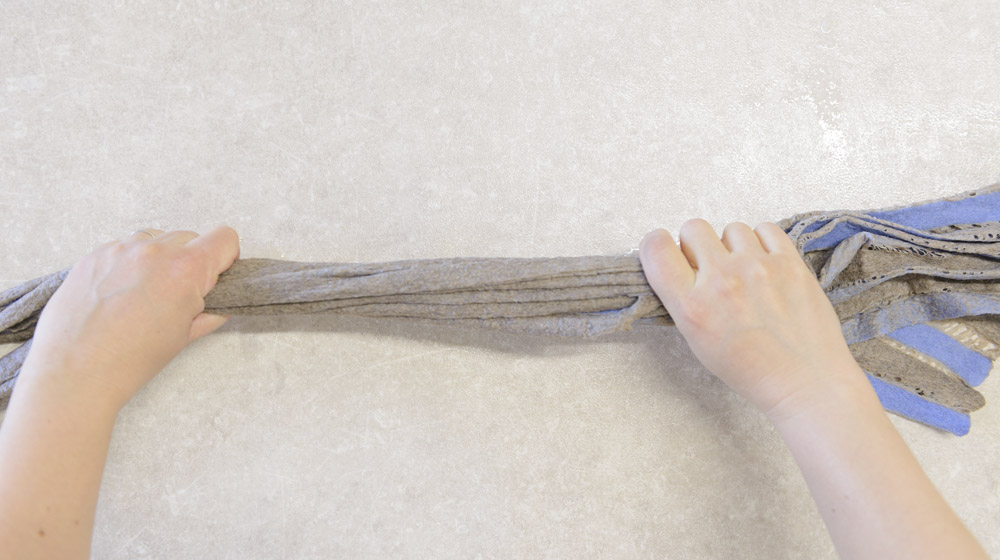
When the fibres are well felted, rinse the scarf to remove all the soap. Gently squeeze it into a ball without wringing, so as not to distort the shape.
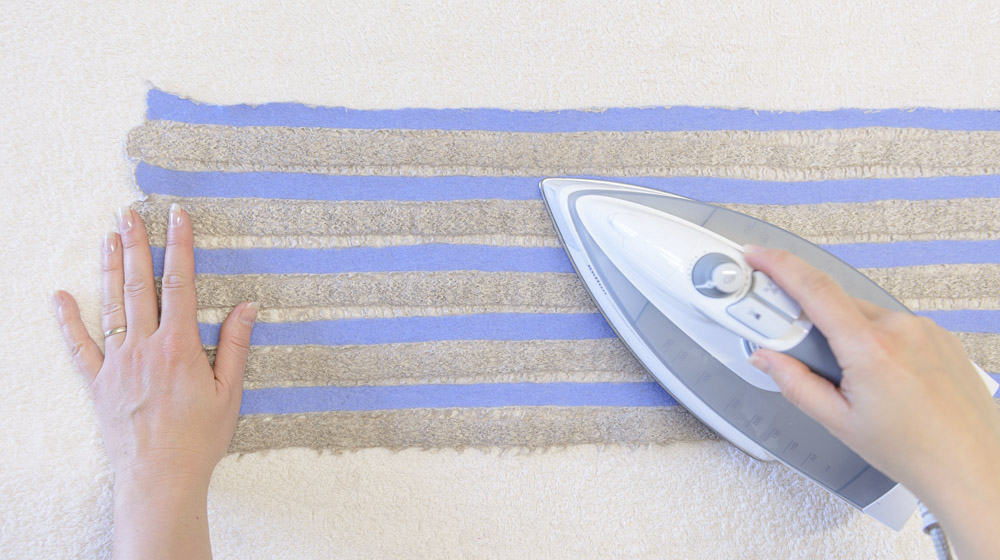
Stretch the scarf again along its length. Press it with an iron, shaping it neatly. Finally, leave it to dry completely.
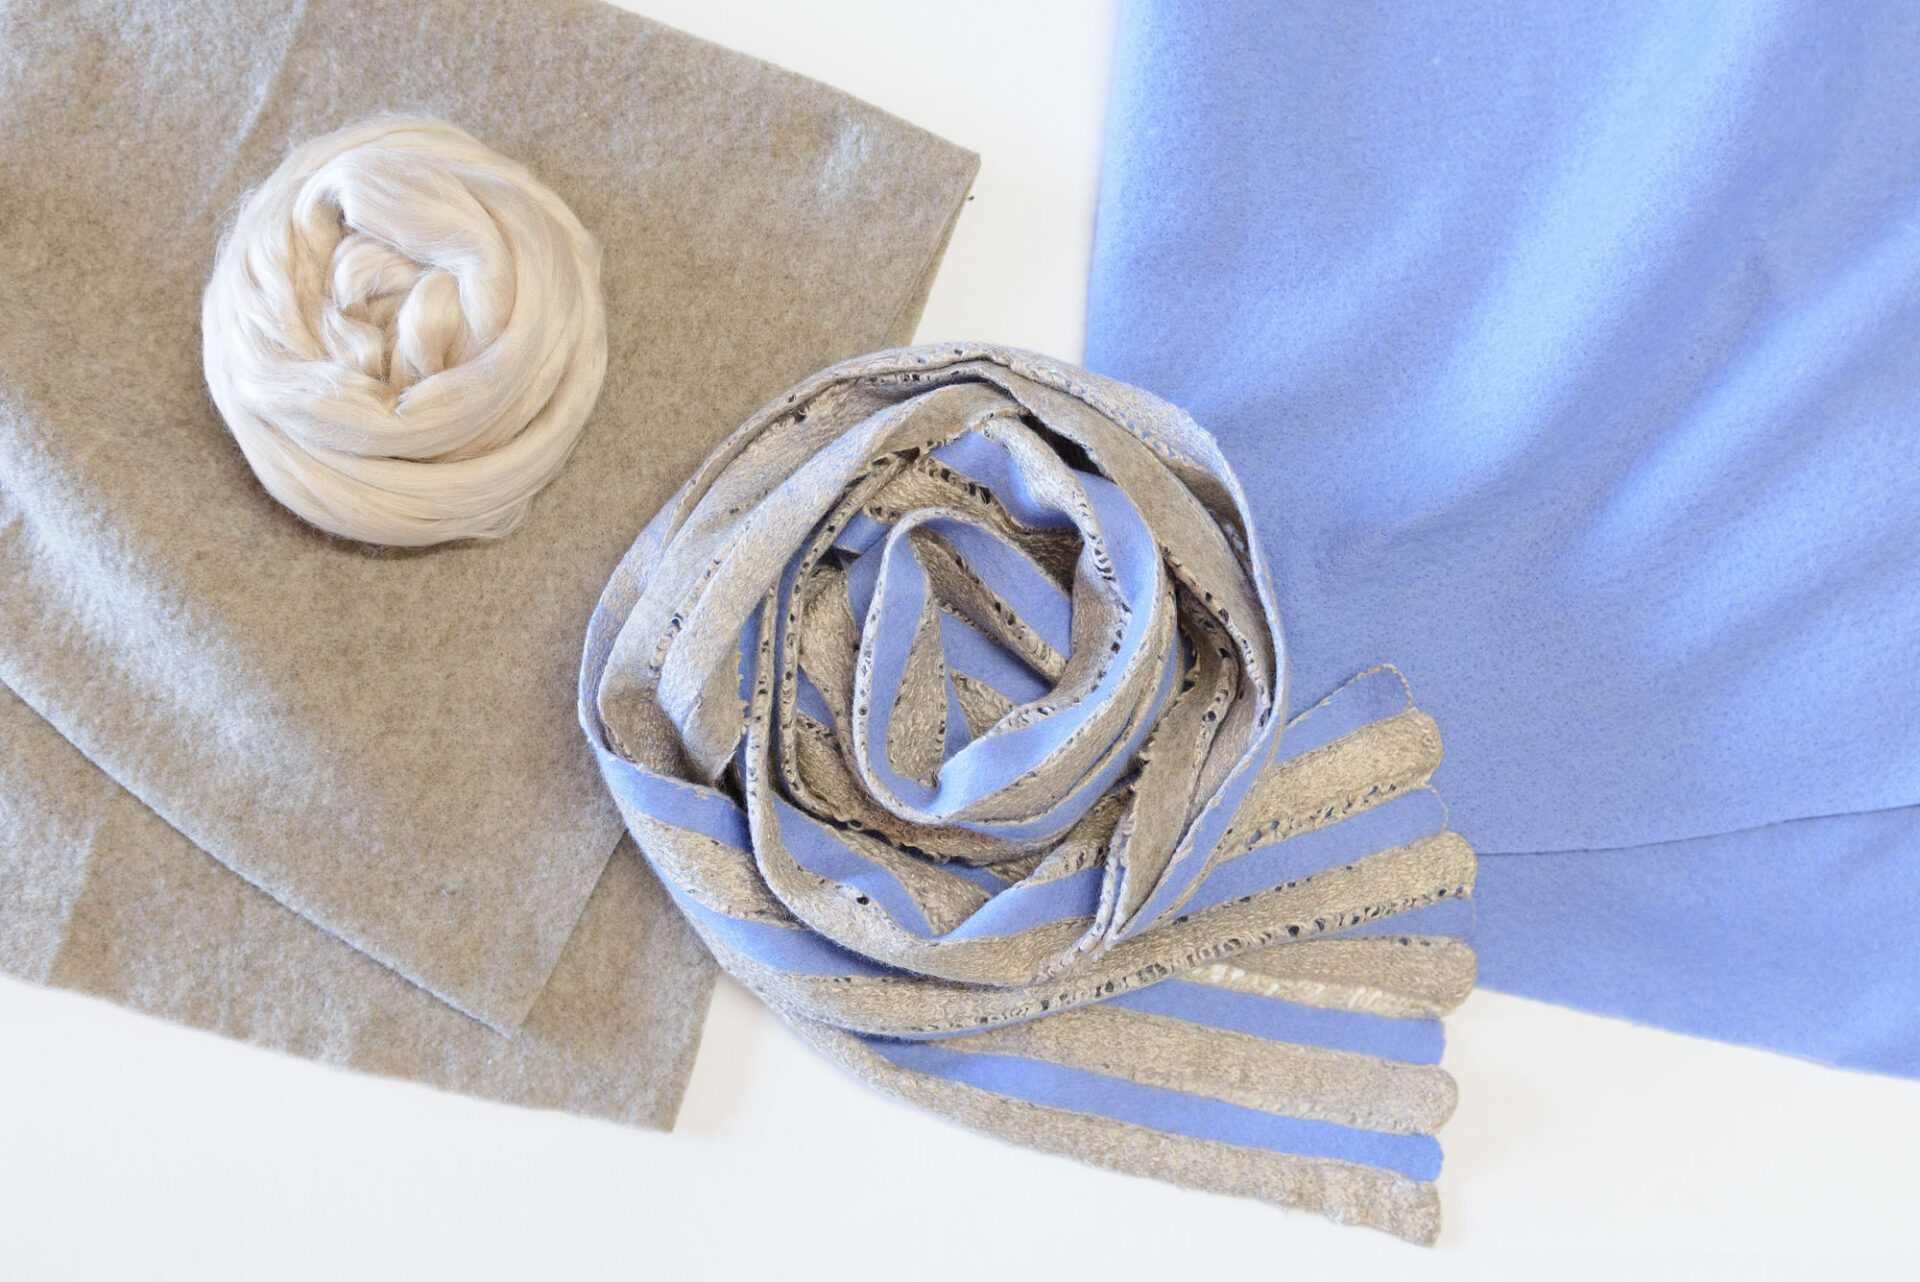
Your scarf is ready – now it’s your turn.
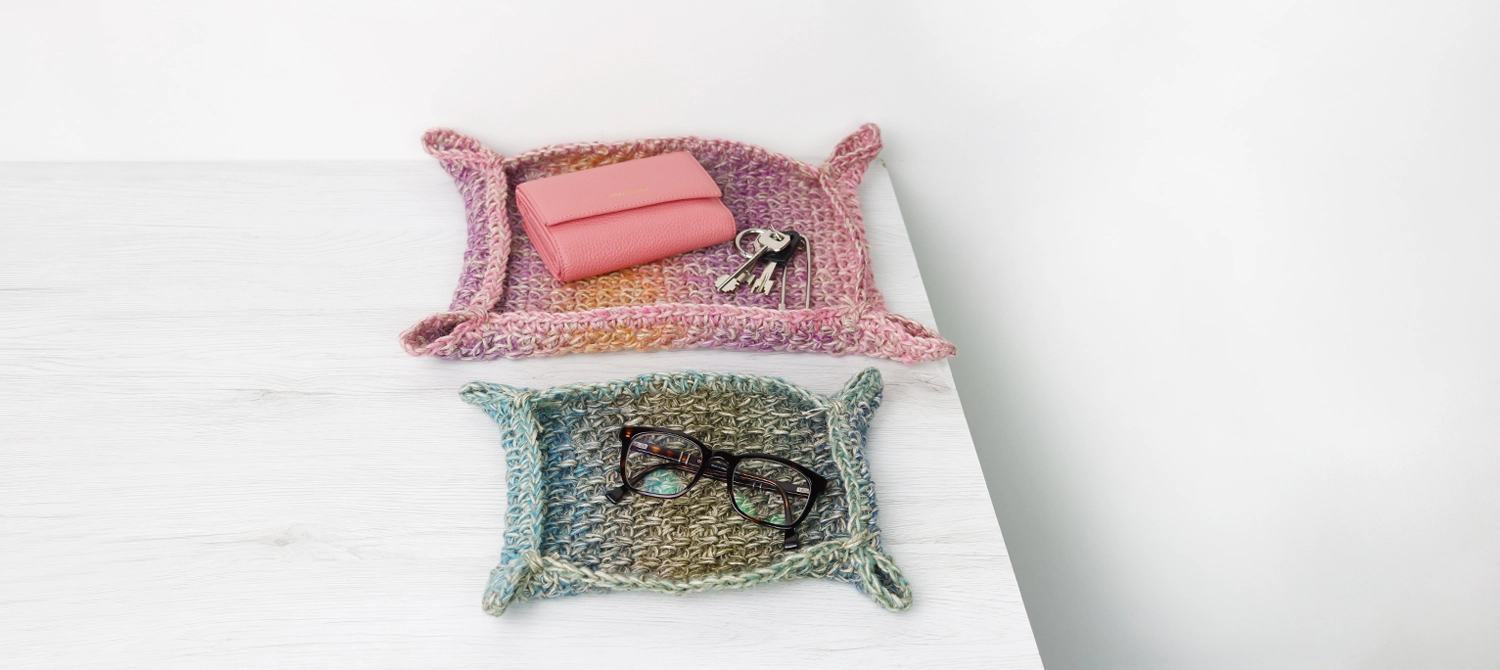
Today we are sharing a project that everyone can make. Even a beginner will manage [...]
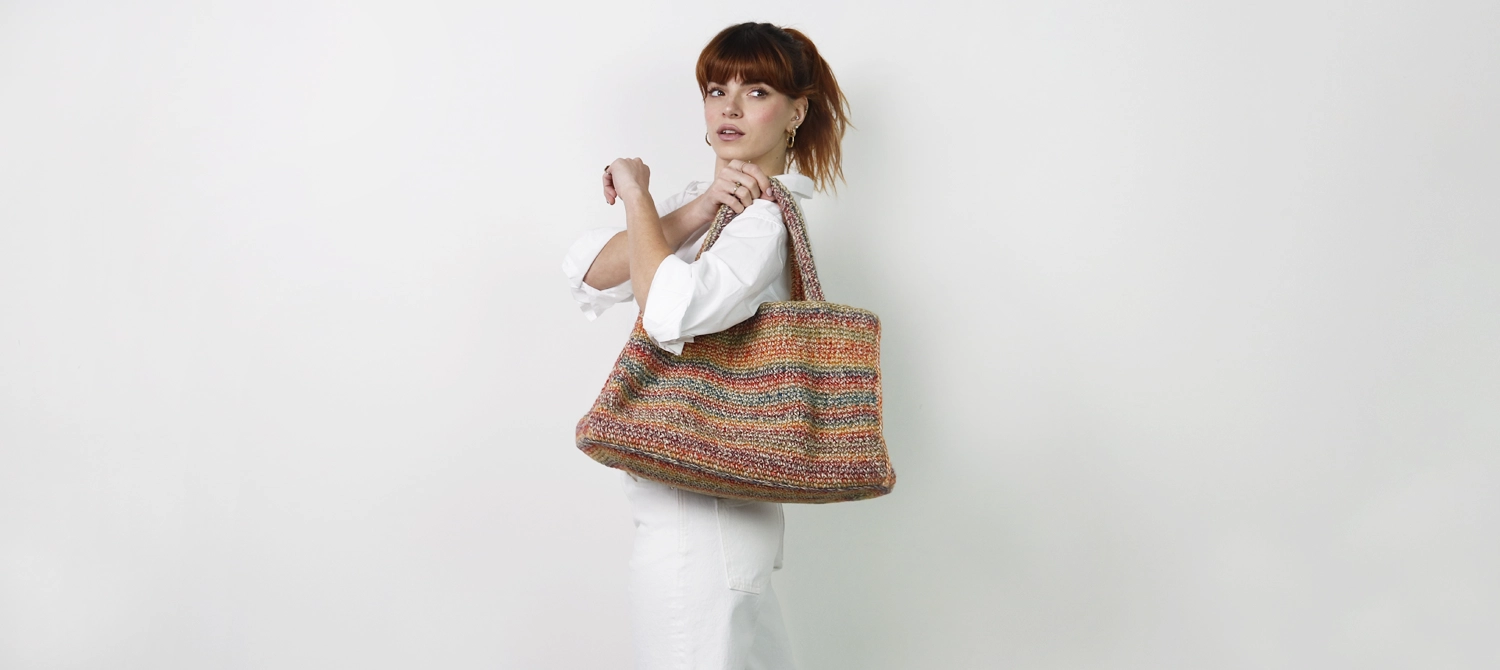
Who could resist a maxi bag made with a strong, multicolored jute yarn. It is [...]
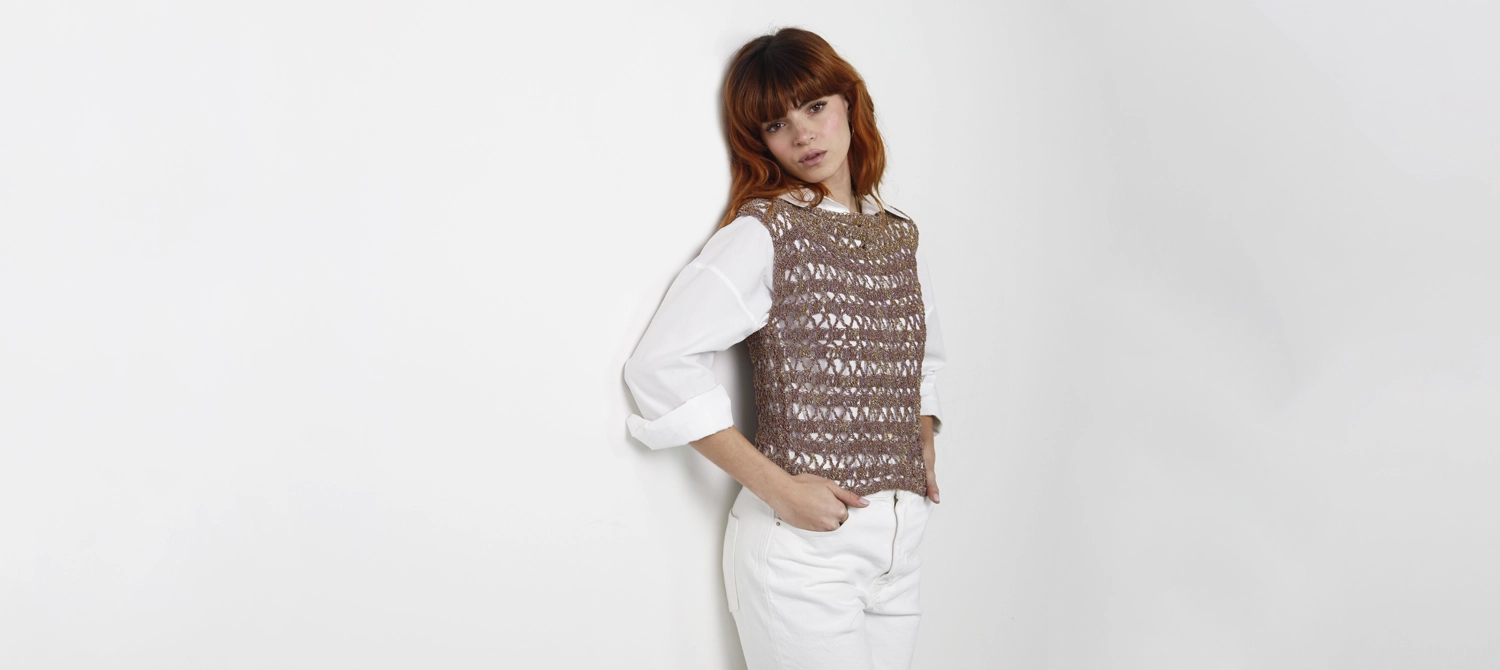
Even those who do not like layering or wearing sparkly garments will change their mind [...]