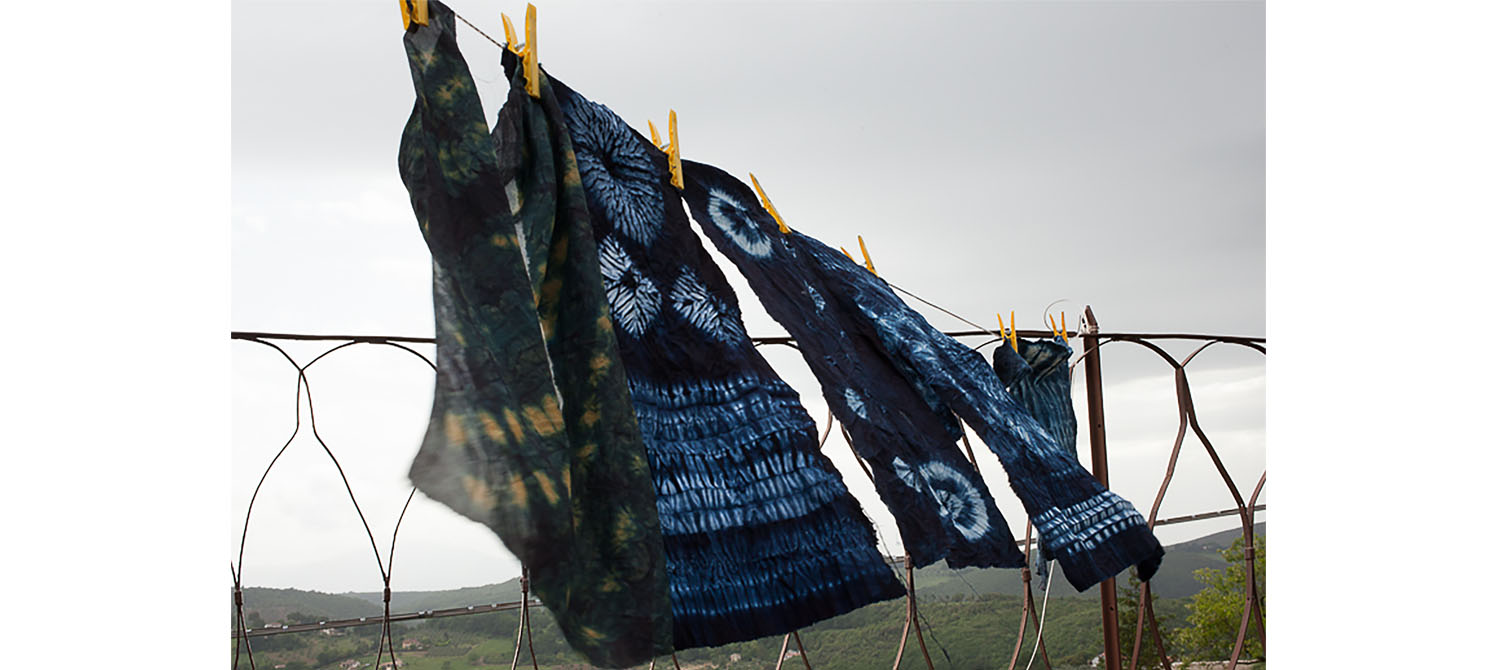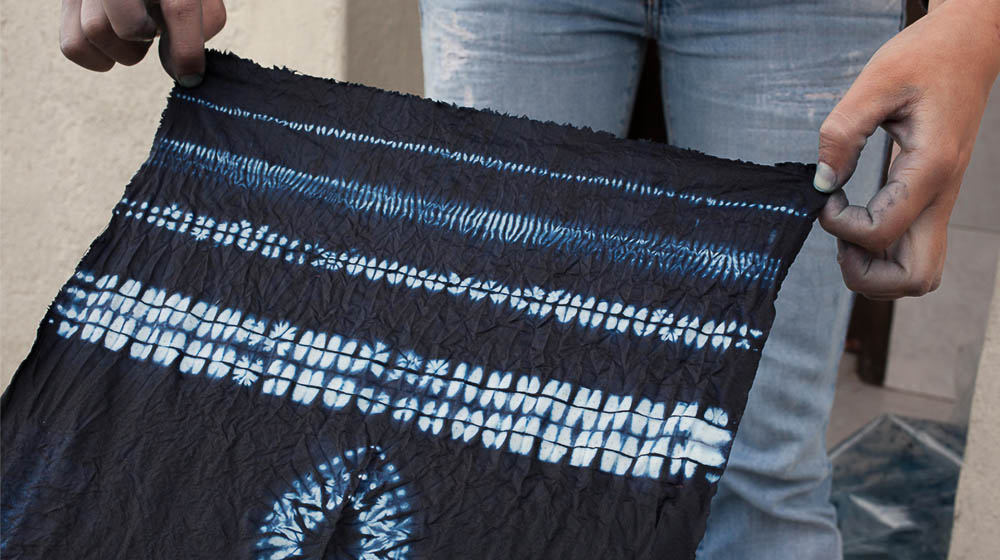
Indigo has always fascinated and “terrorized” many aspiring dyers. So we decided to dedicate a special segment to this dyeing process, because indigo, aside from being one of the most beloved colors, needs to be used in a special, ad hoc process.
It is important to remember that indigo is a direct dye and therefore does not require the use of a mordant. However, that doesn’t mean that you can start directly from the dyebath using the extract as is. Indigo extract must first be prepared by creating what technically would be defined as a mother tincture.
Here’s how it’s done…
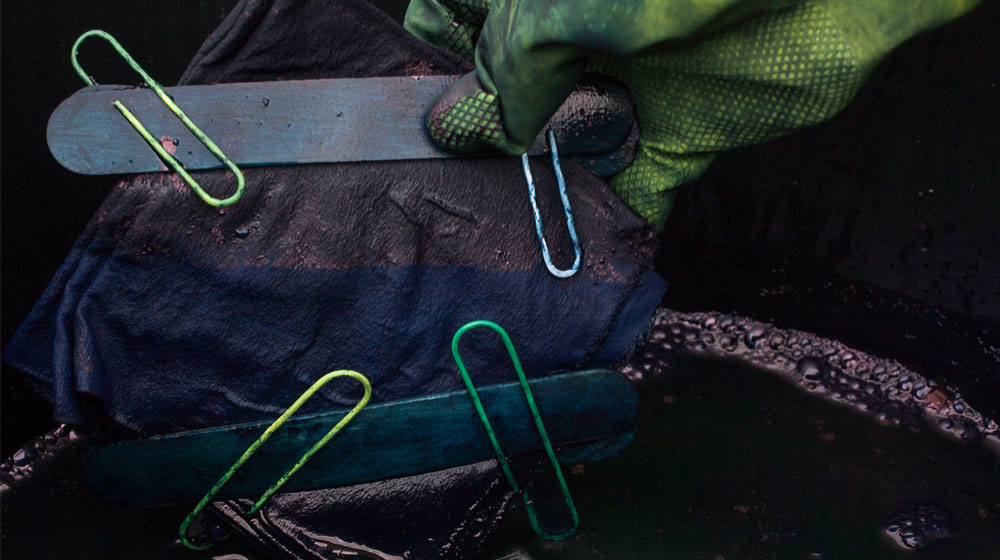
Mother-dye
- Weigh the dry fibers (and/or the yarn and fabrics obtained by them).
- Rinse them with a neutral soap.
- Put your indigo in a 500 ml. can (preferably, iron) that can be closed with an airtight cap.
- The amount of indigo dye needed for the preparation of the mother ranges from 2% (in order to obtain a light blue) to 5% (for a darker blue) according to the intensity of color that you wish to reach.
- Fill 2/3 of the can with water and stir well to dissolve lumps if any.
- Calculate the quantity of reducing agent based on the weight of the dye you are using for the reduction-oxidation process- caustic soda: 80% compared to the weight of dye; hydrosulphite: 80% compared to the weight of dye.
- Add the caustic soda to the solution in the can and stir again. The reaction with the caustic soda will warm the solution.
- Last, add the hydrosulphite and stir quickly.
- Then close the can with your airtight cap and keep it in a bain-marie for 20/30 minutes and maintain a temperature of 55°C (131°F)

Dye bath with indigo (tub)
- Pour the mixture obtained into a pot, filled with water beforehand (bath ratio 20/1) and raise the temperature to 131°F (55°C), not more.
- Add 1 mg/L of hydrosulphite.
- Put a lid on and let it sit for other 20 minutes.
- The indigo bath is now ready and you can proceed to effective dyeing now.
- Prepare a basin filled with warm water and two tablespoons of vinegar for rinsing the fiber after dyeing.
- Soak your fiber (previously rinsed with neutral soap) in the dye bath and make sure it is completely submerged in the dye bath.
- Do not shake the fiber excessively to avoid creating air bubbles. Let it sit for 5 minutes.
- Quickly remove the fiber from the dye bath and open it up in the air: the yellow-greenish colour will quickly turn blue before your eyes.
- At this point, rinse the fiber in the tub with warm water first to remove the colour residues and then in running cold water until the water comes out clean.
- Leave the fiber to dry away from the direct sunlight.

Tip from the dyer: the bath should have the colour of olive oil for the whole duration of the dying process, if a shift towards blue should occur add 1g/l of soda and 1g/l of hyposulphite
All images are courtesy of Coordinamento Tessitori – ©KEVO.biz
If you liked this article maybe you would also enjoy Ecoprinting with Laura Dell’Erba – Fabrics of Animal Origin.
Loading...